Creating a Project
vue create
To create a new project, run:
vue create hello-world
WARNING
If you are on Windows using Git Bash with minTTY, the interactive prompts will not work. You must launch the command as winpty vue.cmd create hello-world. If you however want to still use the vue create hello-world syntax, you can alias the command by adding the following line to your ~/.bashrc file. alias vue='winpty vue.cmd' You will need to restart your Git Bash terminal session to pull in the updated bashrc file.
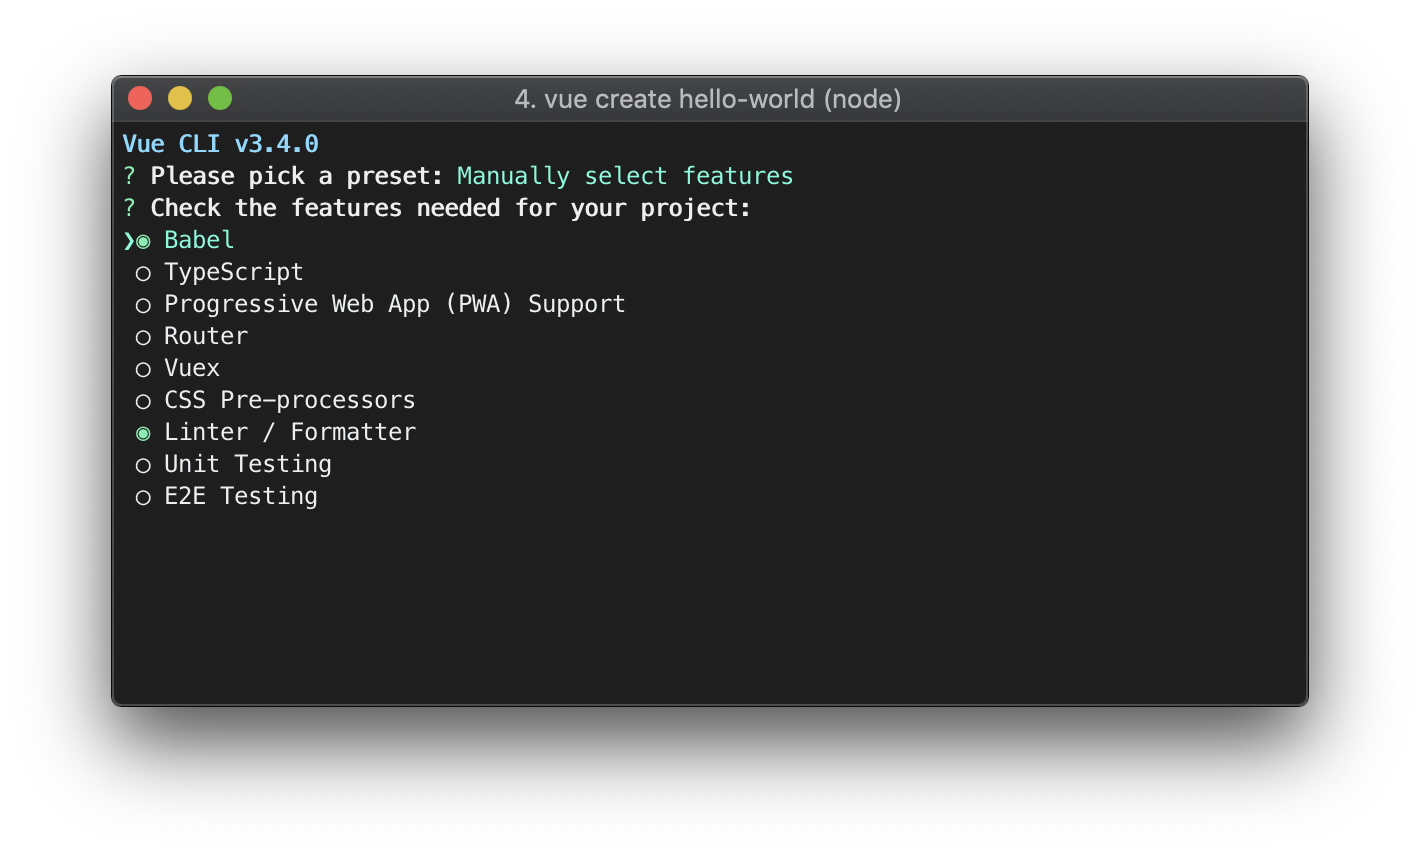
You will be prompted to pick a preset. You can either choose the default preset which comes with a basic Babel + ESLint setup, or select "Manually select features" to pick the features you need.
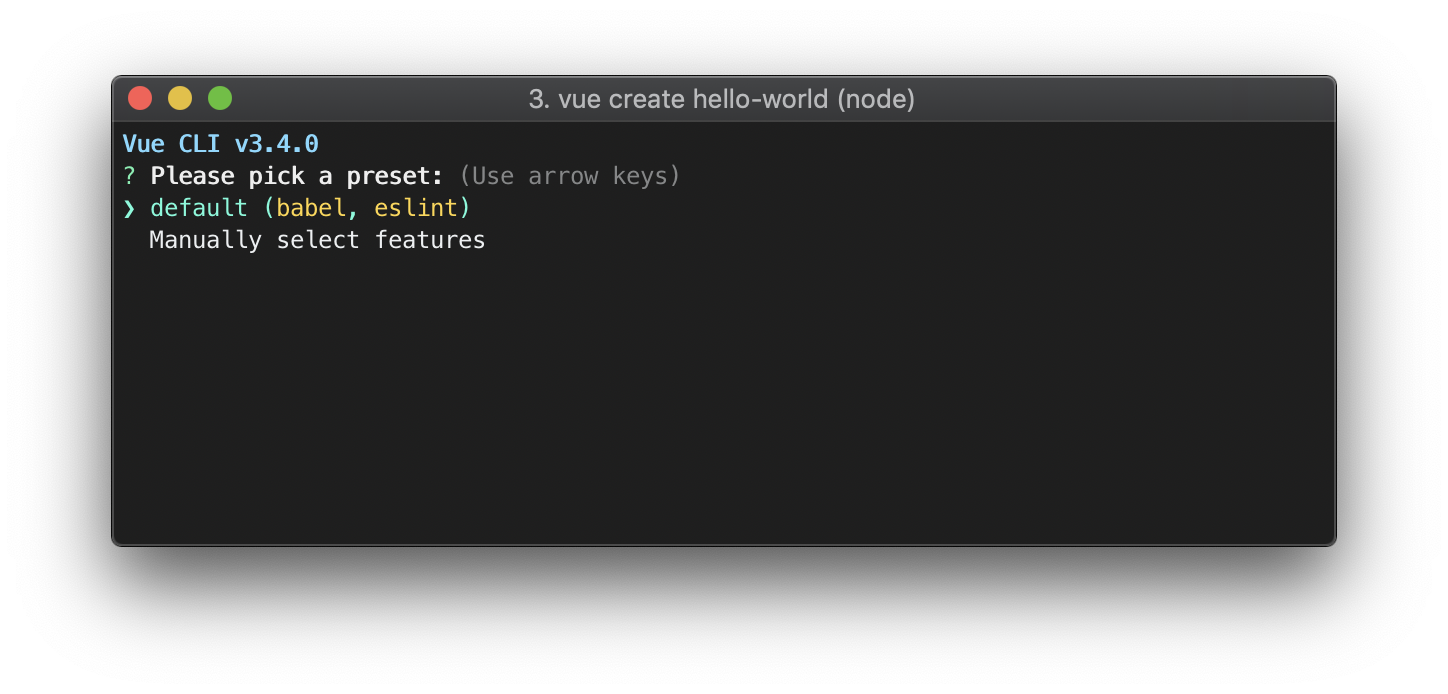
The default setup is great for quickly prototyping a new project, while the manual setup provides more options that are likely needed for more production-oriented projects.
If you chose to manually select features, at the end of the prompts you also have the option to save your selections as a preset so that you can reuse it in the future. We will discuss presets and plugins in the next section.
~/.vuerc
Saved presets will be stored in a JSON file named .vuerc in your user home directory. If you wish to modify saved presets / options, you can do so by editing this file.
During the project creation process, you may also be prompted to select a preferred package manager, or use the Taobao npm registry mirror for faster dependency installation. Your choices will also be saved in ~/.vuerc.
The vue create command has a number of options and you can explore them all by running:
vue create --help
Usage: create [options] <app-name>

create a new project powered by vue-cli-service


Options:

  -p, --preset <presetName>       Skip prompts and use saved or remote preset
  -d, --default                   Skip prompts and use default preset
  -i, --inlinePreset <json>       Skip prompts and use inline JSON string as preset
  -m, --packageManager <command>  Use specified npm client when installing dependencies
  -r, --registry <url>            Use specified npm registry when installing dependencies
  -g, --git [message|false]       Force / skip git initialization, optionally specify initial commit message
  -n, --no-git                    Skip git initialization
  -f, --force                     Overwrite target directory if it exists
  --merge                         Merge target directory if it exists
  -c, --clone                     Use git clone when fetching remote preset
  -x, --proxy                     Use specified proxy when creating project
  -b, --bare                      Scaffold project without beginner instructions
  --skipGetStarted                Skip displaying "Get started" instructions
  -h, --help                      Output usage information
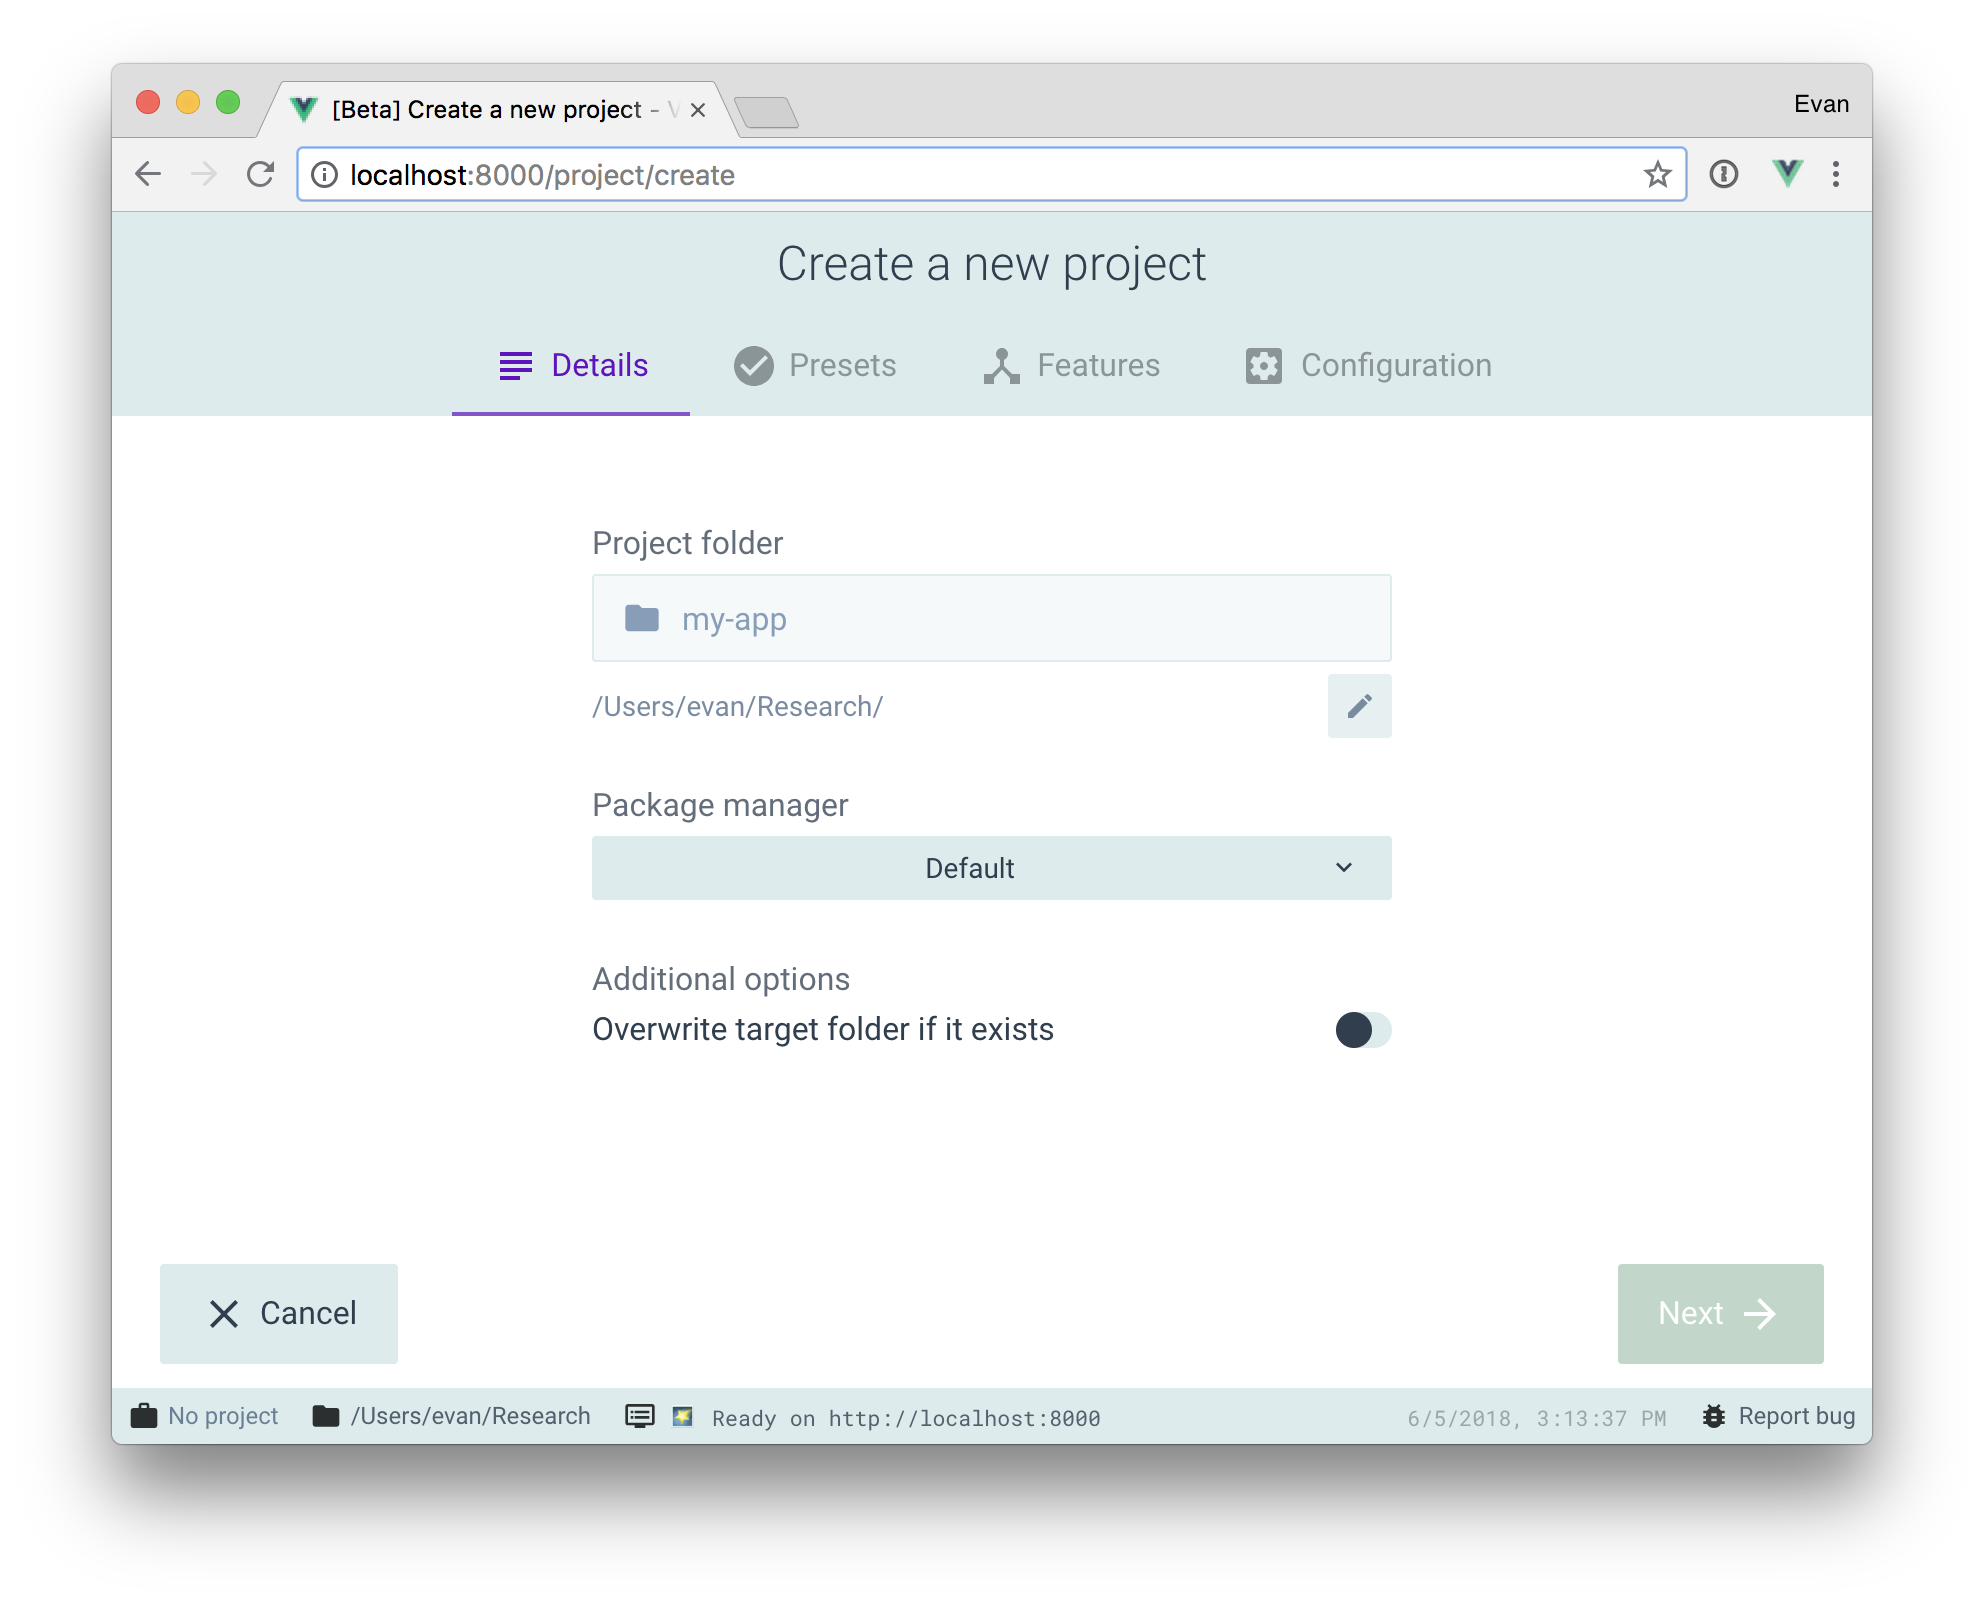
Using the GUI
You can also create and manage projects using a graphical interface with the vue ui command:
vue ui
The above command will open a browser window with a GUI that guides you through the project creation process.
Pulling 2.x Templates (Legacy)
Vue CLI >= 3 uses the same vue binary, so it overwrites Vue CLI 2 (vue-cli). If you still need the legacy vue init functionality, you can install a global bridge:
npm install -g @vue/cli-init
# vue init now works exactly the same as vue-cli@2.x
vue init webpack my-project